Magic In A Jar: DIY Spring Candles For Your Heart And Home
This DIY spring candles blog post contains affiliate links, which means I will receive a commission if you purchase through my links, at no extra cost to you. Read full disclosure here.
Hello My Loves 🩷
I’m soooo excited that YOU are reading this blog post about DIY spring candles! Do you know that sudden burst of spring energy when you just have to redecorate, refresh your space, and fill the air with cozy, dreamy scents? Well, I definitely do – and I have the perfect solution: beautiful homemade DIY spring candles!
They’re pretty, they smell amazing, they create the coziest atmosphere… and honestly, who doesn’t love candles? The only thing? I know a few people who are sensitive to store-bought scented candles. That’s why DIY candles are such a great alternative – because you can control exactly what goes in! No overpowering scents, no weird chemicals — just the goodness you choose.
And here’s what makes it extra fun: You can pour candles into almost any glass or porcelain container. Your creativity can truly shine! I recently saw “Iced Matcha Candles” trending on TikTok – they look like actual iced drinks with faux ice cubes and all. Super cute, but definitely a more advanced project.
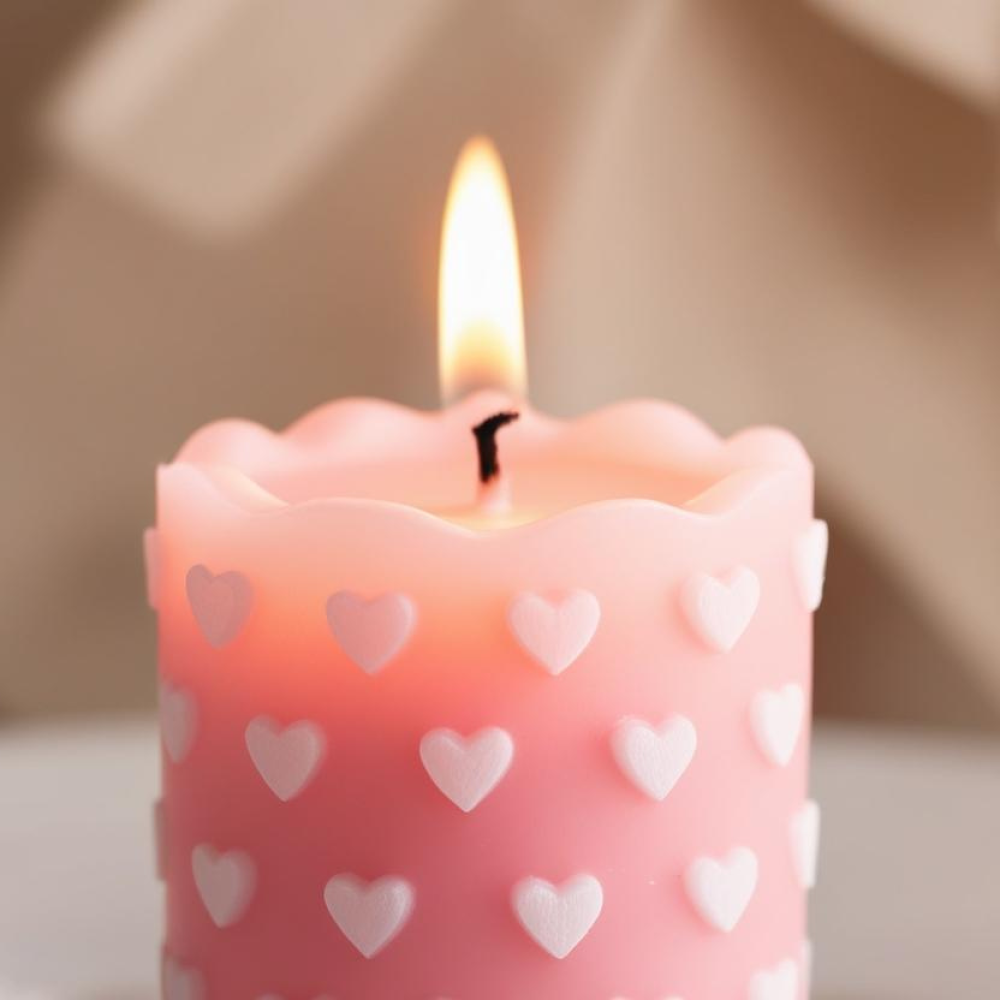
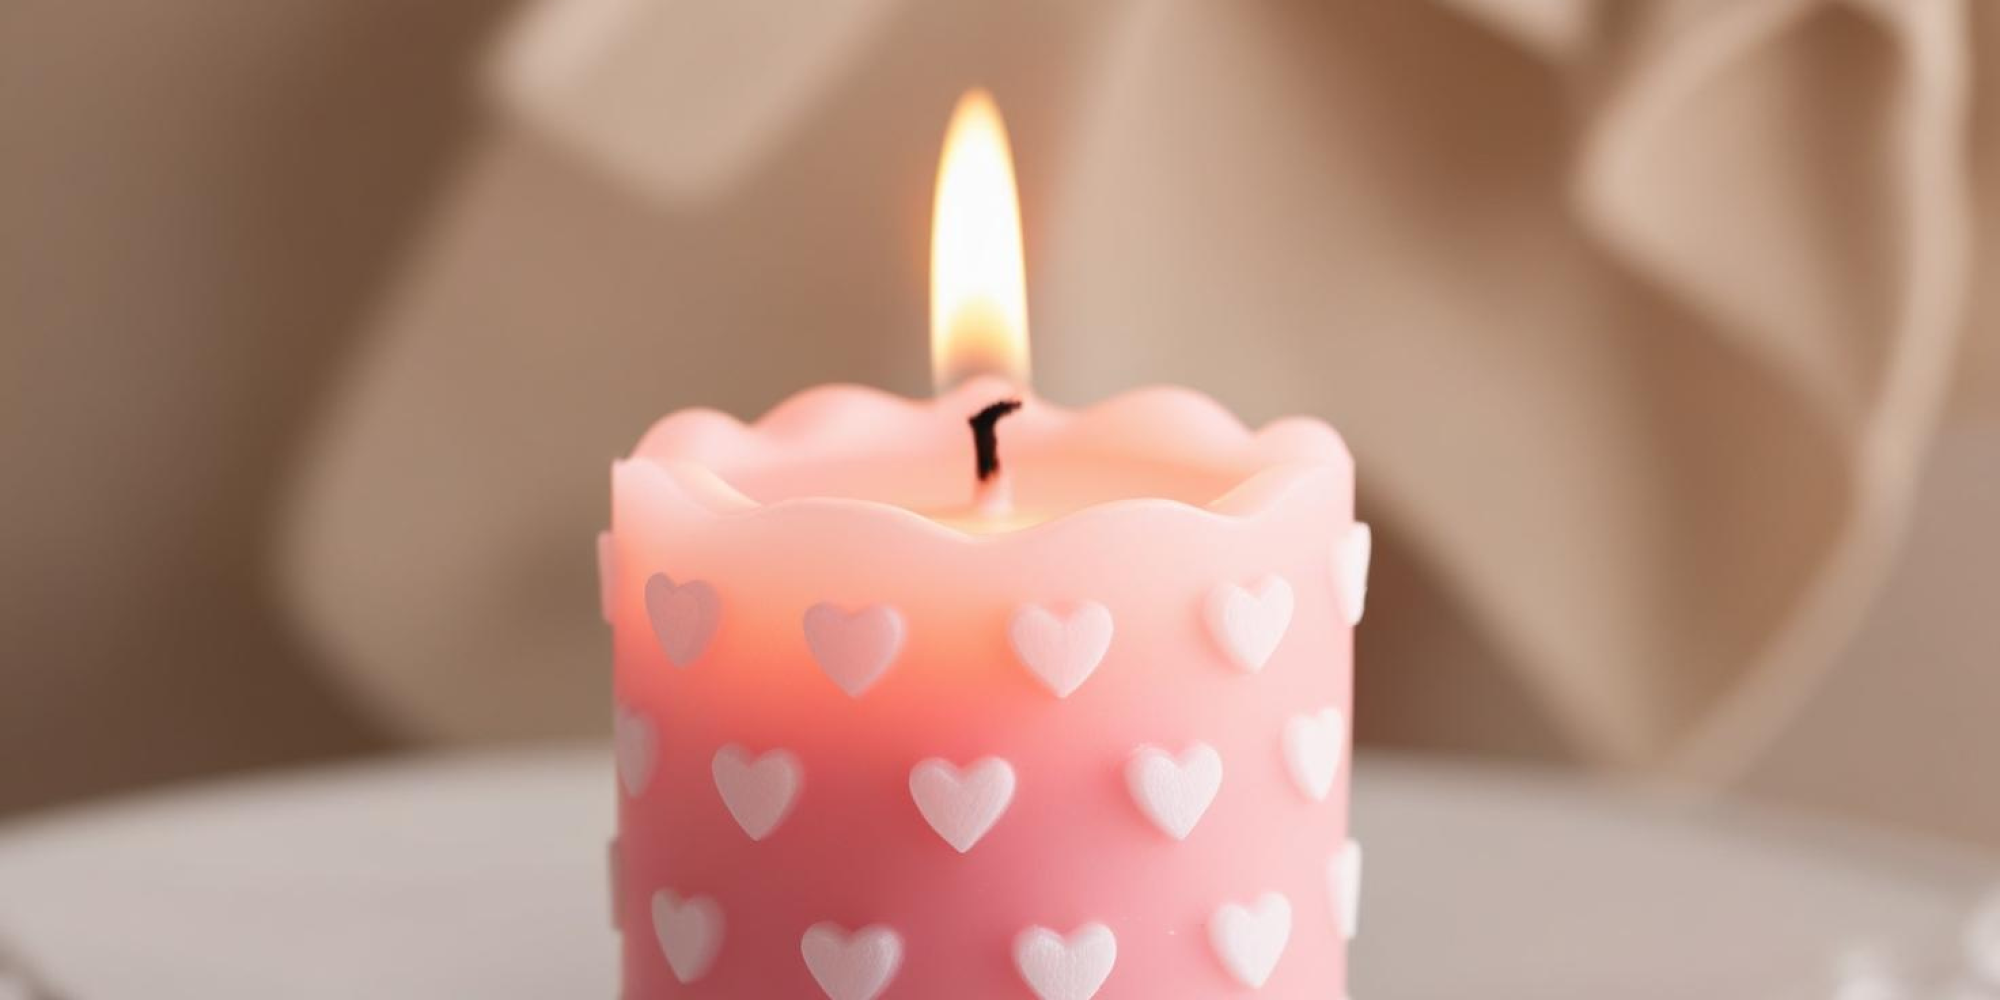
I started with something soft, spring-like, and totally me — obviously in pink! 💗
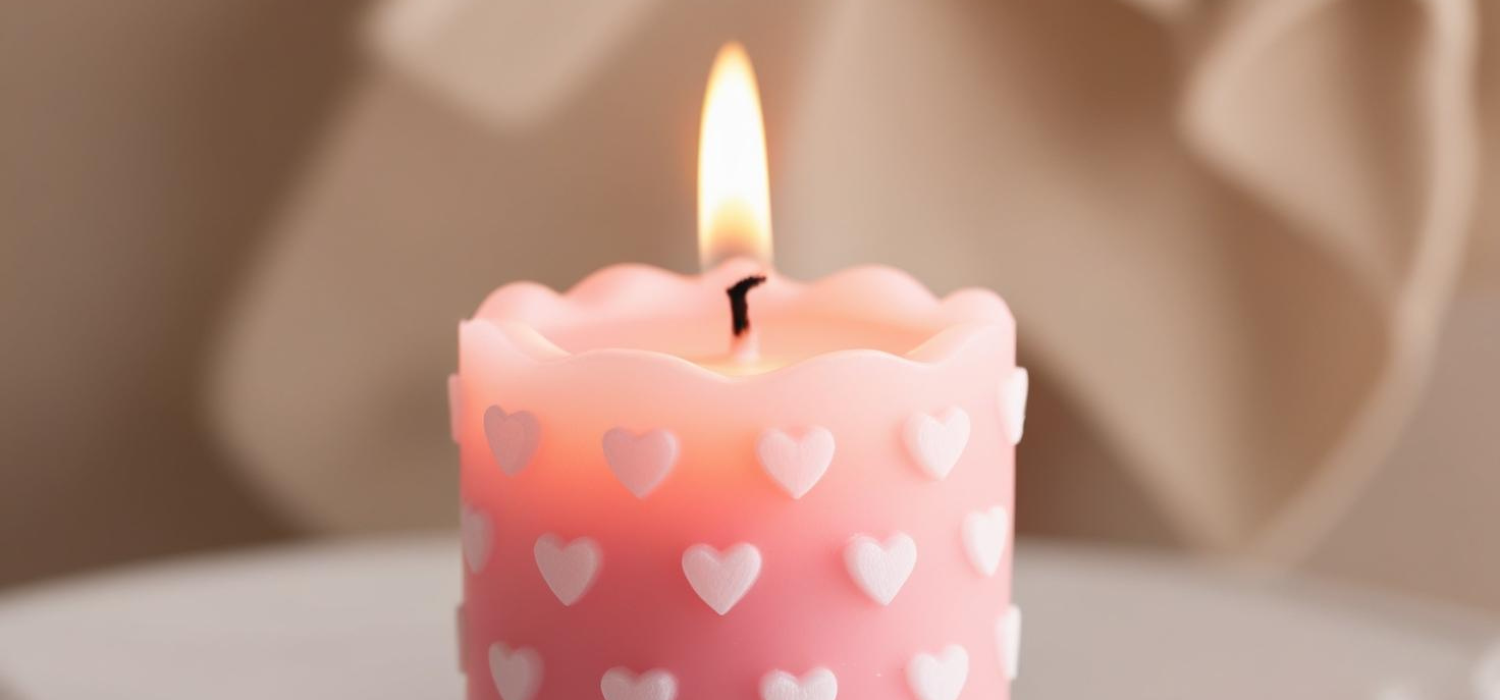
I had these little heart-shaped glasses sitting in a drawer (I originally bought them for snacks but never used them 😅), and they turned out to be perfect for DIY spring candles. I decided to try it with just one wick at first to see how it goes. And guess what? It worked so well, I’m pretty sure this is my new favorite hobby! Candle-making might just become my thing.
Why DIY Spring Candles Are Just So Perfect 🕯️
• You can fully customize scent and color
• They make gorgeous spring decor or heartfelt gifts
• You need only a few materials and it’s super easy
• Perfect for a cozy afternoon with friends or your partner 💞
What you need...
Check out all the essential products you’ll need on Amazon here:
This post contains affiliate links, which means I will receive a commission if you purchase through my links, at no extra cost to you. Read full disclosure here.
Here's How You Do It...
1. Pick The Perfect Jar
The following guide contains affiliate links, which means I will receive a commission if you purchase through my links, at no extra cost to you. Read full disclosure here.
The images shown below are for illustrative and explanatory purposes only. The products depicted in the images may not be the exact same as the ones linked through the affiliate links.
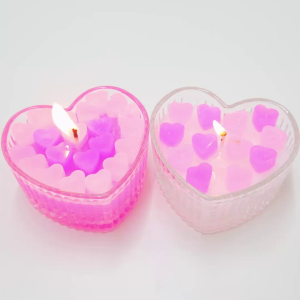
Before you do anything else – take a moment to choose a beautiful container for your candle. anything heat-safe can work – and it’s a great chance to show off your personal style!
What to look for: Make sure the container is heat-resistant (no thin glass or plastic!). A flat base is ideal – so your wick stays centered and stable. If the opening is too narrow, the candle might not burn evenly – so go for something with a nice wide top.
2. Insert The Wick
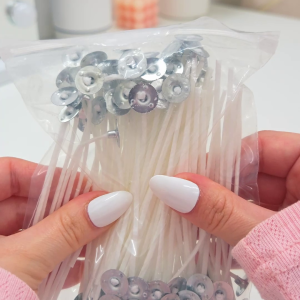
I used pre-waxed wicks with sticky tabs — super easy! Press the sticky dot into the center of your jar, stick the wick on top, and use a wick holder or popsicle stick to keep it upright.
3. Melt The Wax
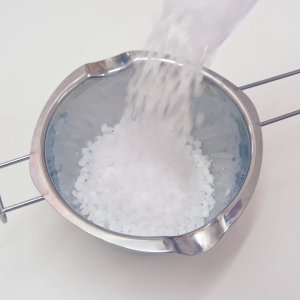
Start by filling your melting pot with wax pellets. Place it in a hot water bath (don’t boil the water — just get it nice and hot!). Stir occasionally. After 8–10 minutes, your wax should be fully melted and ready to go.
4. Add Color
Now it gets fun!
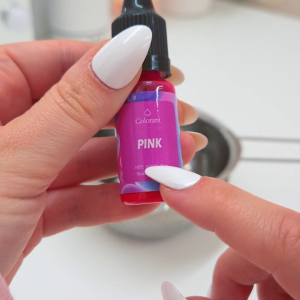
Choose your candle dye (just a drop or two for a soft pastel, more for bold tones).
Pro tip: Be careful when opening the bottle – mine had a sealed tip and I didn’t notice… let’s just say my wall now has a pop of pink 😂
5. Add Fragrance
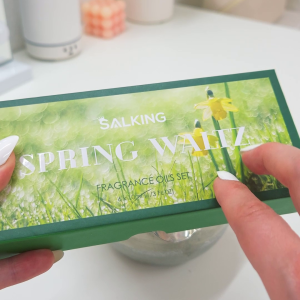
Once the color is perfect, add your essential oils. If you want your candle to truly scent a room, you’ll need around 10–20 drops, depending on the size and oil strength. Start small and adjust to taste!
6. Pour The Wax & Let It Set
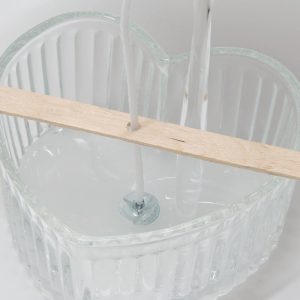
Here comes the magical moment! Slowly and gently pour the wax into your container to avoid air bubbles. It smells amazing already! Now, be patient while the candle cools and hardens completely.
Heads-up: Wax sometimes sinks a bit in the center. If that happens, just re-melt a little wax and pour it on top to even it out — easy fix!
7. Decorate & Add Finishing Touches
Time to get creative!
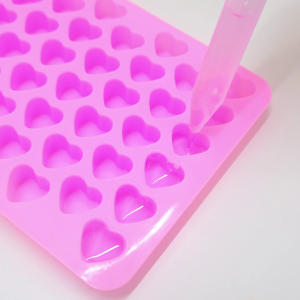
I made little wax hearts using a silicone mold and a pipette — then I “glued” them onto the surface with a tiny bit of melted wax. So cute! You can also add dried flowers, glitter, or anything that feels you.
💭My Final Thoughts...
…Candle-Making is a pure joy! I can officially say: I’m obsessed! Making candles is easy, fun, and way cheaper than buying large ones from stores (especially those with multiple wicks). Plus, it’s the perfect cozy activity for a weekend with your BFF or your partner.
Whether you’re making candles for yourself, as a spring gift, or just because… I totally recommend it. And if you try it — PLEASE show me your creations! Tag me on Instagram or send me a DM. I’d love to see your version, especially if it includes cute decorations! 💌
Got tips or fun ideas I should try next? Let me know — I’m always here for the candle chat!
See you next time –
xoxo, Valia 🩷

